Family Treat
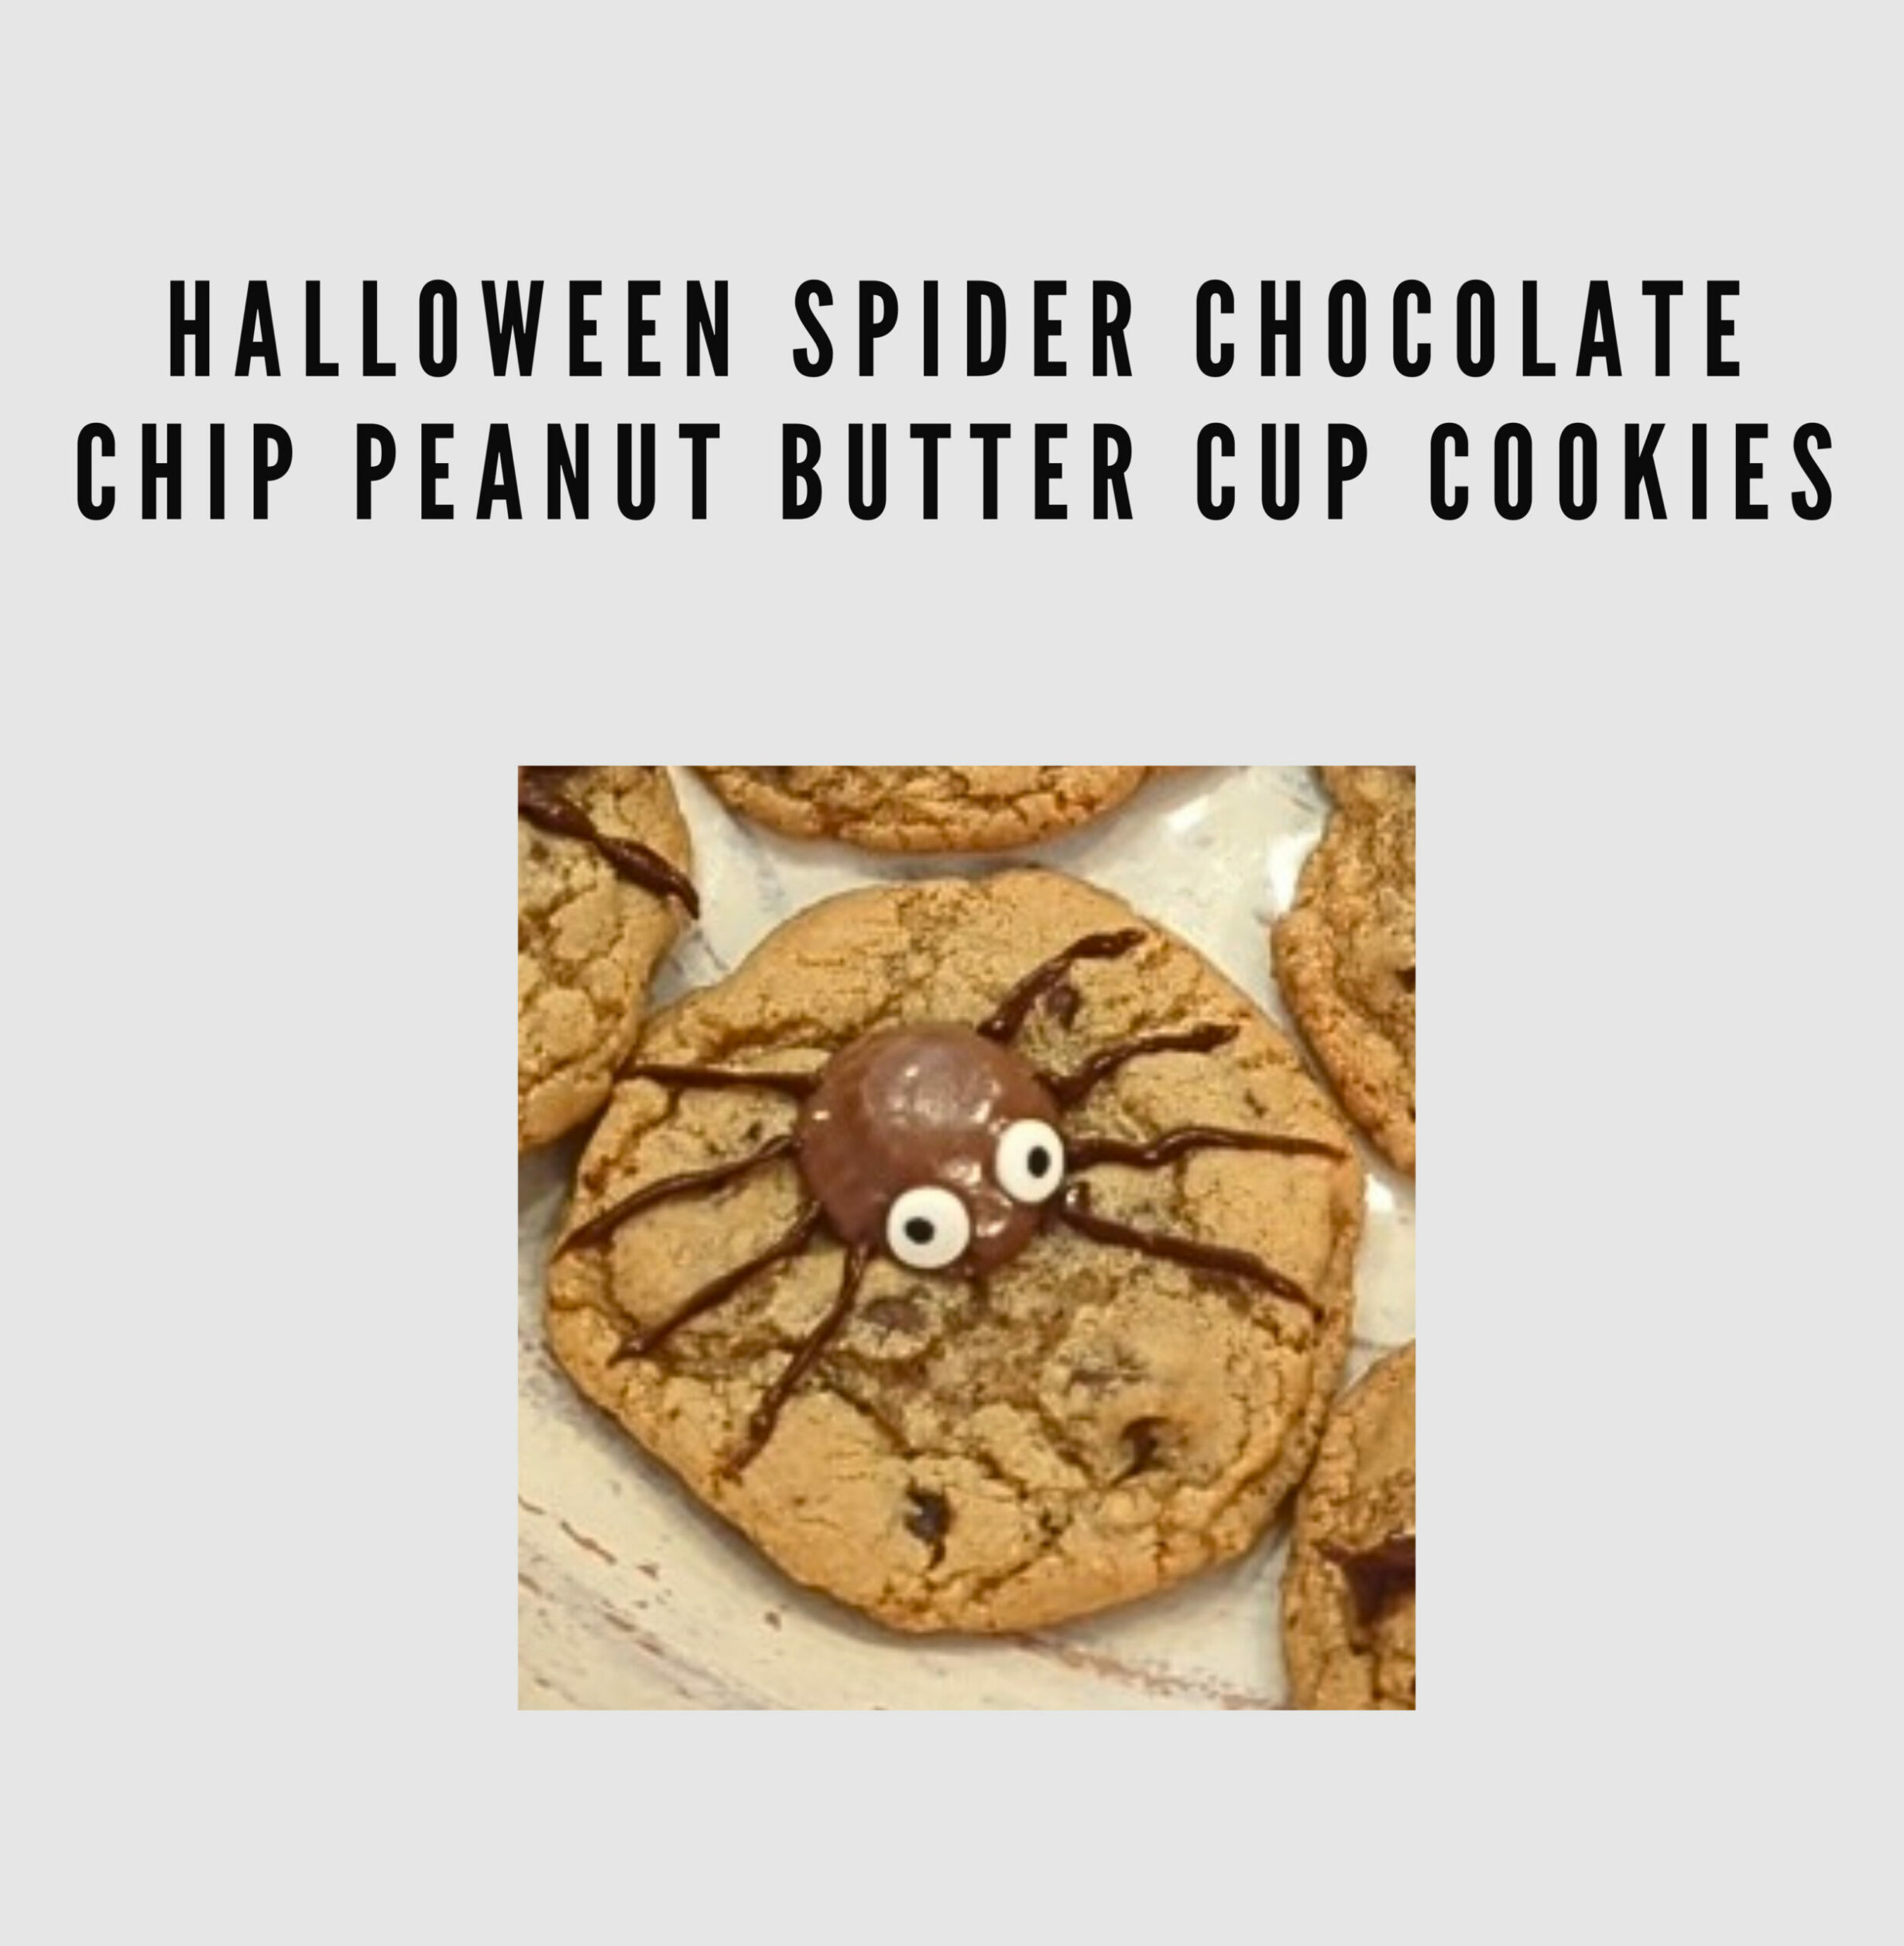
Halloween Spider Chocolate Chip Peanut Butter Cup Cookies
Who doesn’t love a good chocolate chip cookie?! and Halloween?! It’s the perfect family treat night! We always throw a Halloween party and I’m always looking for creative and cute family treat ideas.
This is my classic chocolate chip cookie recipe with a bit of a twist for Halloween! I add a mini peanut butter cup in the middle and add some googly eyes and some chocolate spider legs.

Fun cute halloween Family treat
These chocolate chip cookies are gooey, melty, and still have a little bit of chew to them. They are the perfect family treat!
I love to make these for parties and usually I have people asking if they can take some home! My husband tries to hoard them all, but as a family of 3, we really shouldn’t eat 24 cookies… That logic does nothing to stop my husband though.
Between my husband and I, we have tested out a lot of recipes for a good chocolate chip cookie over the years and there are a few tricks in this recipe that make all the difference in this family treat!
The spider decorations make it so fun for the family to help decorate too!
How to
- Line a baking sheet with parchment paper. I love the precut squares so they don’t roll up. Wait to preheat your oven.
- In a medium/large bowl, combine your flour, baking soda and salt. Gently stir to mix together.
- HIGHLY recommend using a stand mixer or an electric beater here. In a mixing bowl/mixer, add the ROOM TEMPERATURE butter, brown sugar and white sugar. Turn it on medium speed for about 3-4 minutes. Do NOT melt butter in microwave – This will drastically change the texture.
- Scrape the sides of the bowl and add in the vanilla and the eggs. I always say to add more vanilla if you want. I don’t know if I’ve ever had a cookie with too much vanilla.
- Turn the mixer back on medium until the eggs and vanilla are mixed in and scrape the sides again.
- Turn off the mixer and add in a small amount of the flour mix. Turn the mixer on low and gradually increase to about medium speed. Slooowly mix in the rest of the flour mixture while the mixer is on.
- Once the flour is mixed in, add the first bag of chocolate chips slowly. I typically use the whole bag. Can you have too many chocolate chips?
- Turn off your mixer and place the mixer bowl into the fridge. I recommend leaving it in the fridge for at least 30 minutes, but I haven’t ever left the cookie dough in the fridge too long. Some people (my husband) gets a little too anxious about when the cookies will be done.
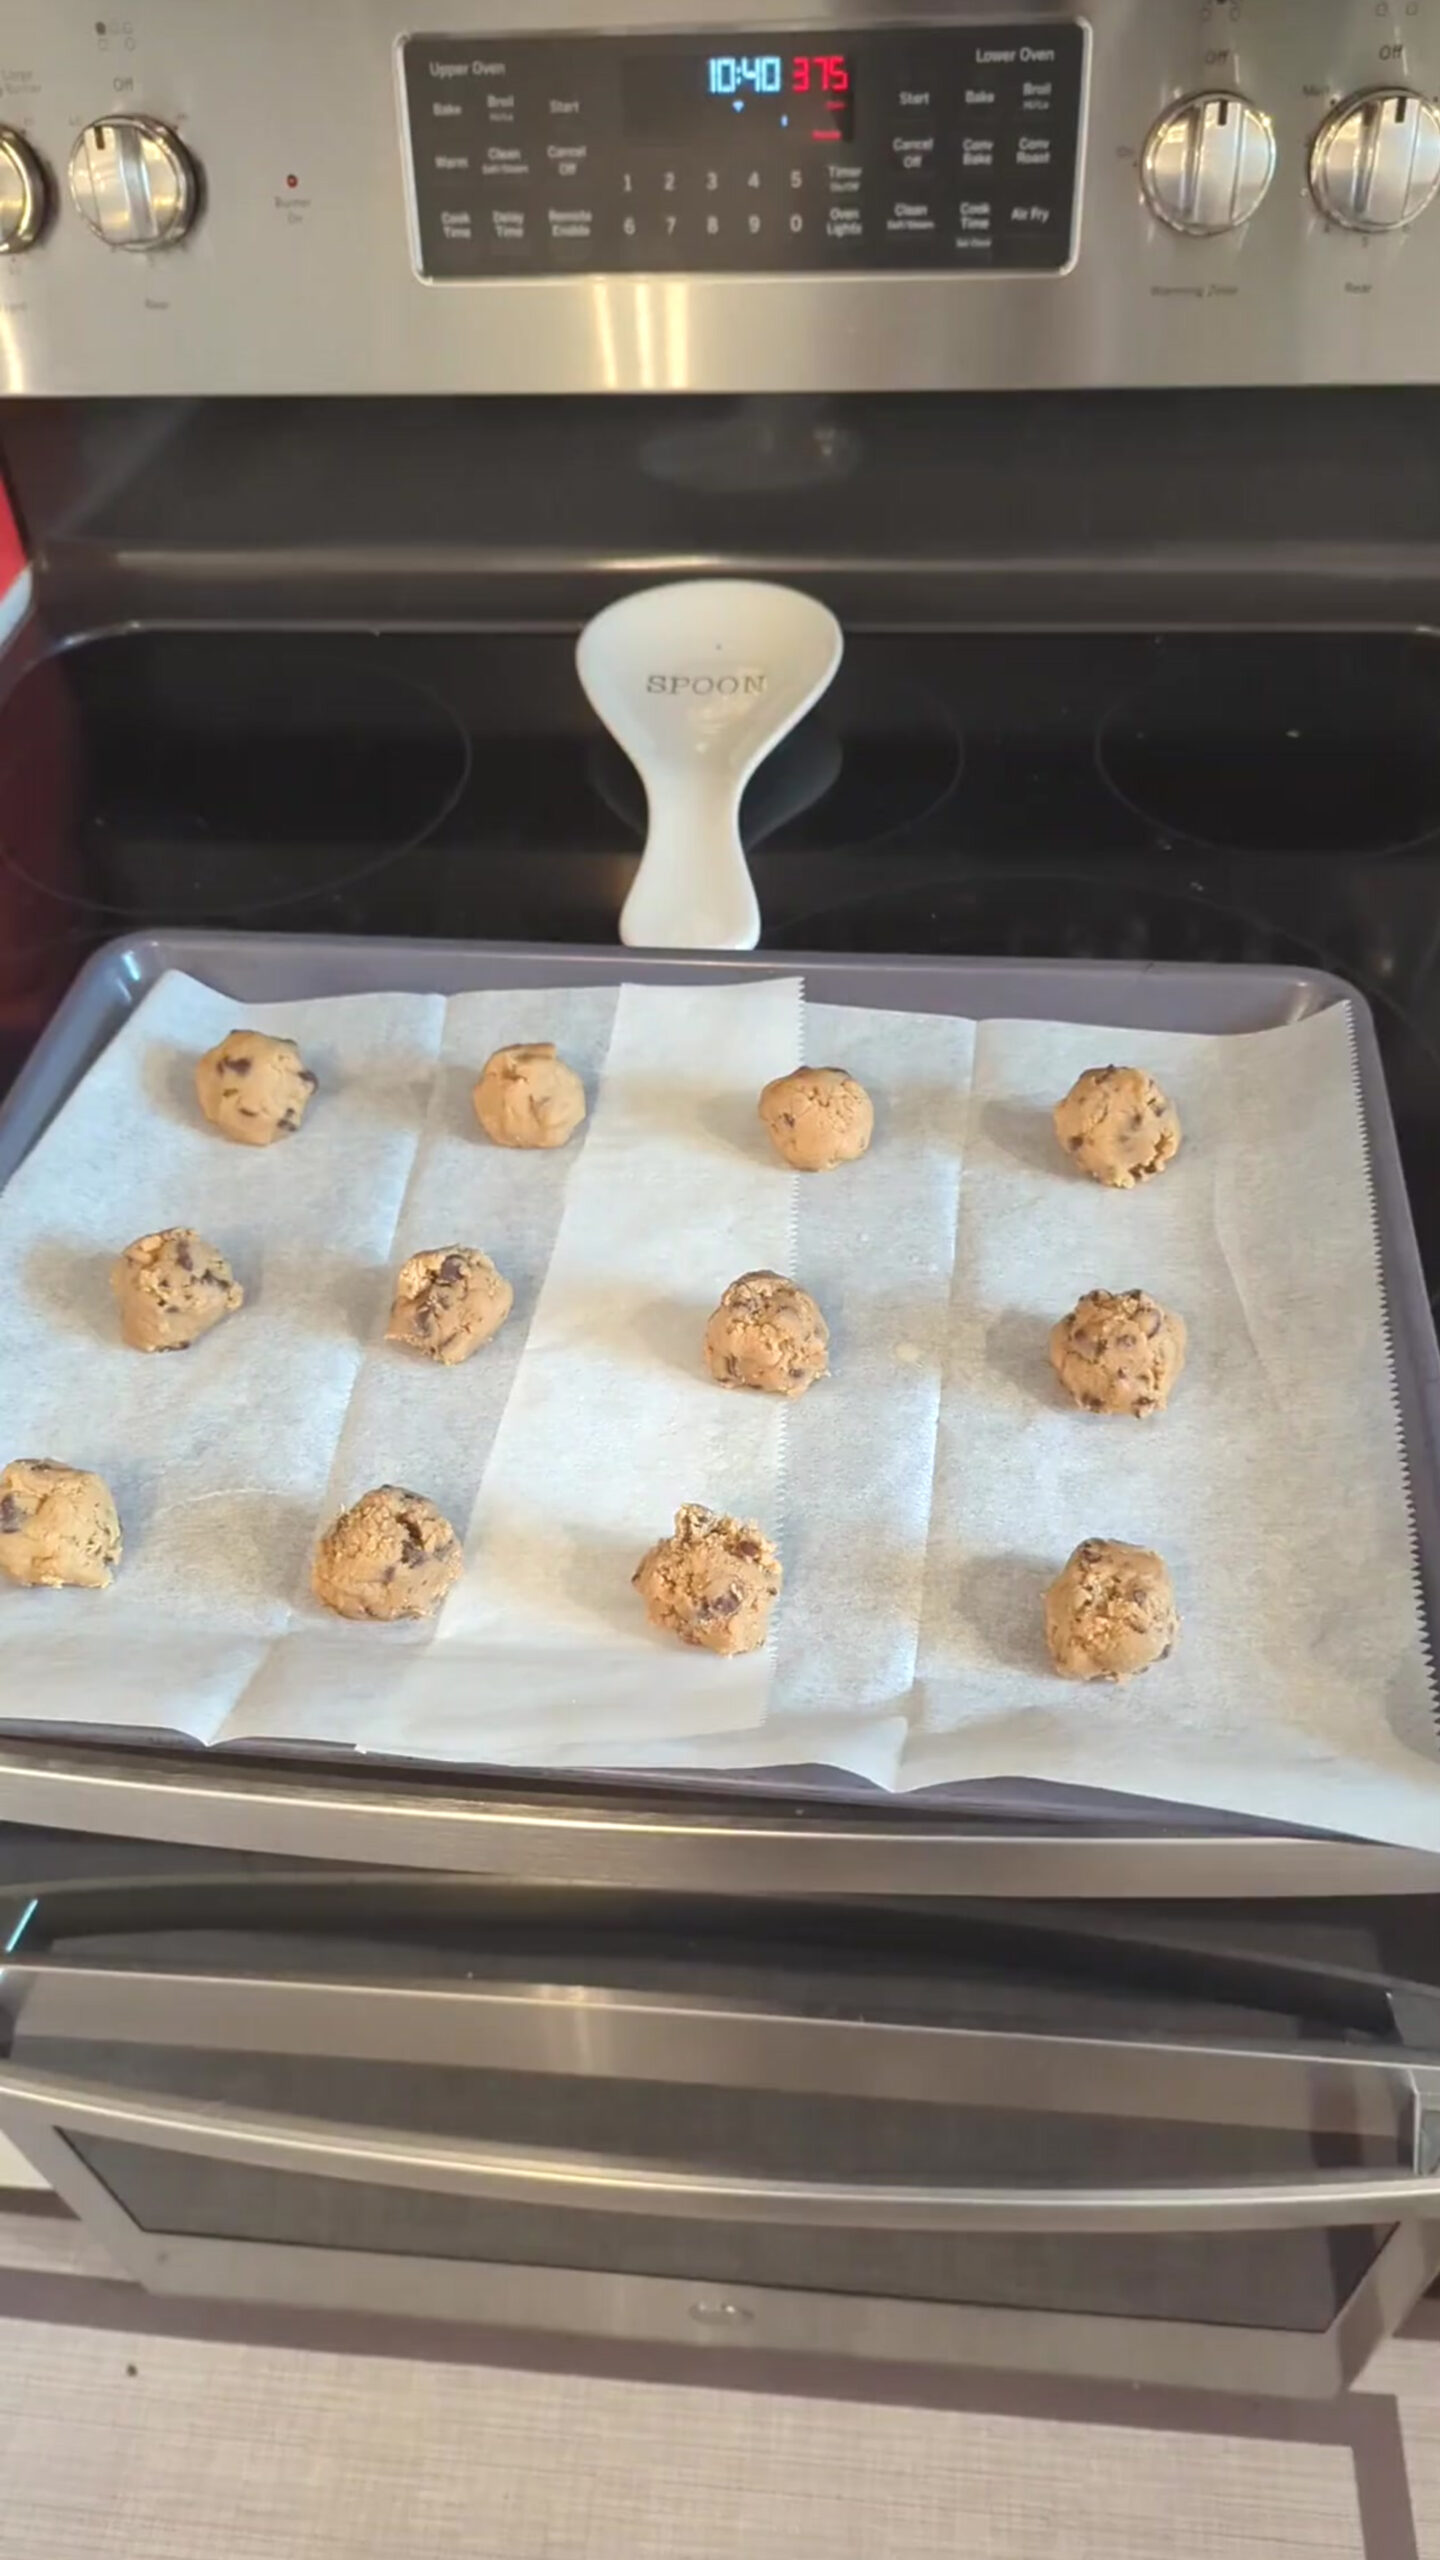
- Preheat the oven to 375 degrees.
- Scoop out small balls of cookie dough onto the baking sheet after the dough is cold. The dough should be really easy to form into balls after being in the fridge. I recommend 6 medium cookies per large baking sheet or 12 small cookies. I opted for 12 smaller cookies since I used mini peanut butter cups.
- Pop the cookies in the oven for about 8 minutes to check and make sure they are not overcooked. Add 2 minutes at a time until they are slightly brown on the edges. These cookies do set well once they are taken out of the oven. My oven took about 10 minutes but every oven is different.
- Once you take them out of the oven, let them sit about 2 minutes before placing on a cooling rack. As soon as they are transferred, place a Reese’s mini in the center. When you place them, do NOT push them down. Very gently place them on top. Otherwise, the cup will melt immediately, which is fine if that’s what you are going for…It’s just a little less attractive.
- Add two decorative candy eyeballs to each peanut butter cup before the cookies fully cool.
- While the cookies cool, rinse out the medium bowl that you used for flour and set it on top of a small pot of water on the stove on medium high heat.
- Add 1/2 of the stick of butter to the bowl and add the other 1/2 bag of chocolate chips. Stir pretty continuously and add more butter as needed until all chocolate has melted and is a creamy texture.
- Once it is a creamy texture, remove from the heat and transfer the chocolate to a piping bag or a gallon ziplock.
- Cut a very small piece off of the tip of the bag and create 8 spider legs on each cookie by piping out the chocolate. You may want to wait a couple minutes for the chocolate to cool before starting this process. The bag can be hot!
- Let the cookies sit for at least an hour so the chocolate can dry.

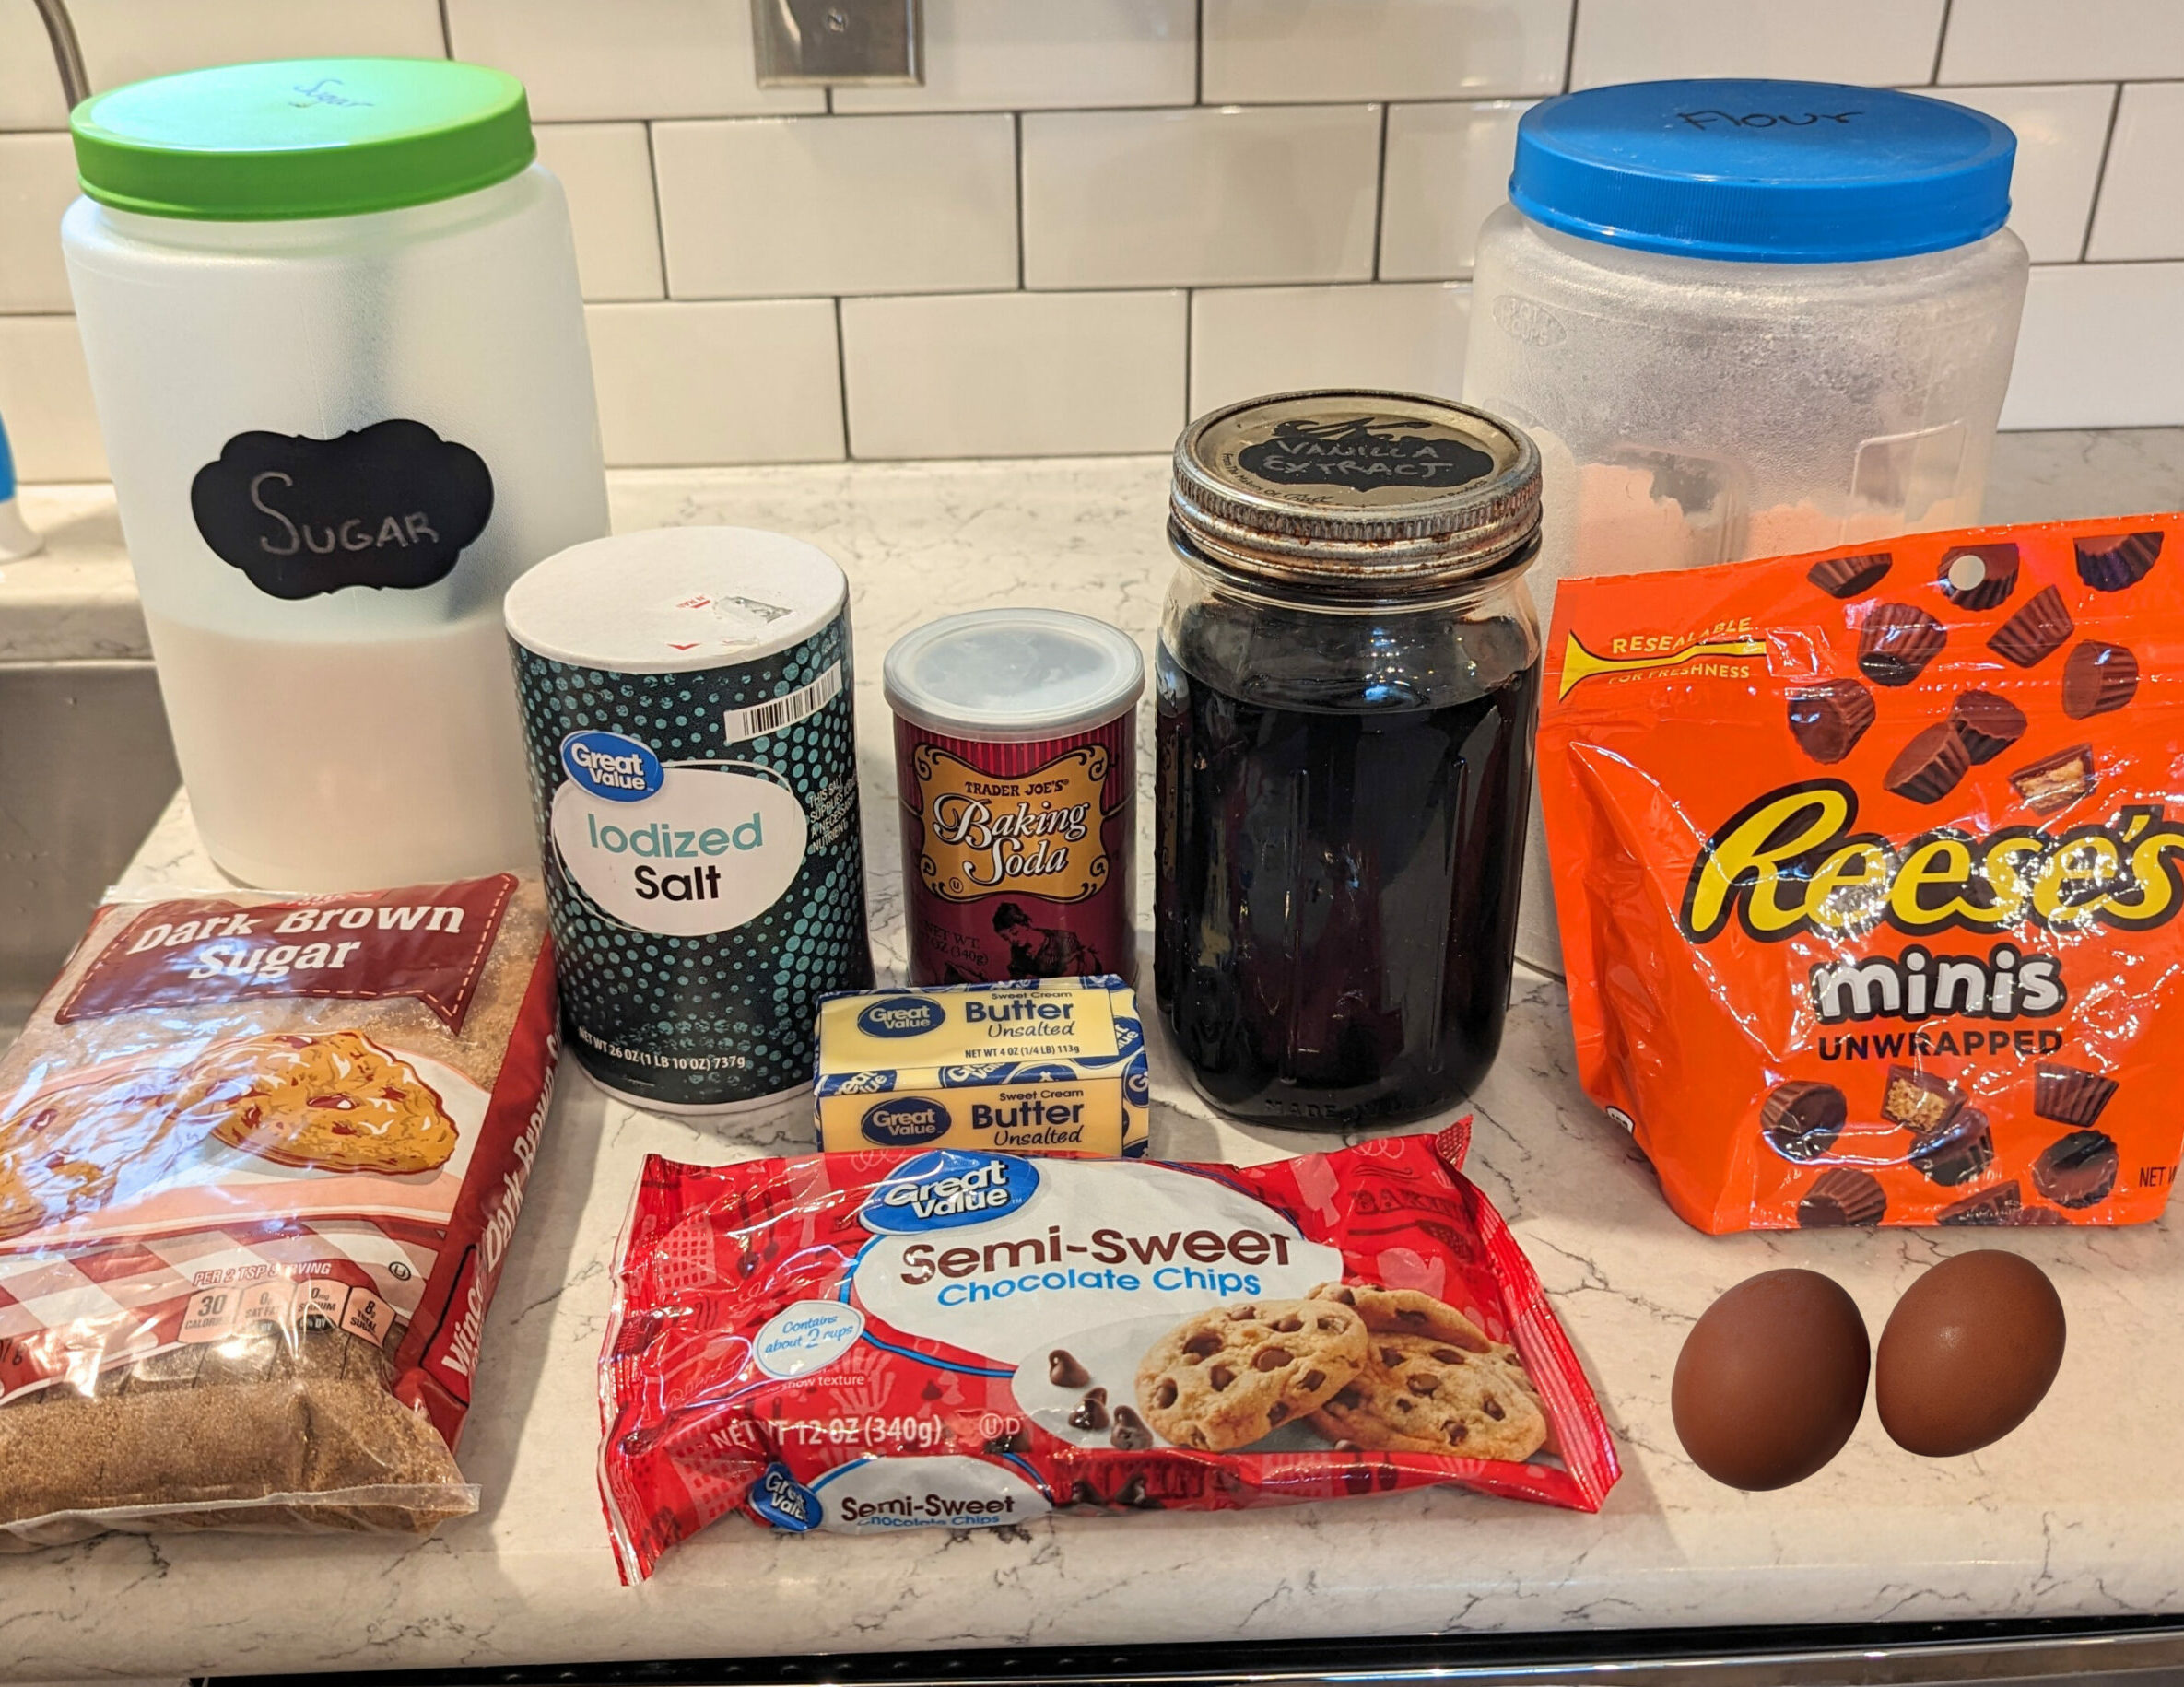
Ingredients
- 2 Cups of All Purpose Flour
- 1 Cup Brown Sugar
- 3/4 Cup Granulated White Sugar
- 2 Eggs
- 1 Stick of Unsalted Butter (ROOM TEMPERATURE)
- 1 Stick of Unsalted Butter (whatever temperature)
- 1 tsp Baking Soda
- 1 tsp salt
- 1 1/2 bag semi-sweet chocolate chips
- 1 bag unwrapped Reese’s mini peanut butter cups
- 1 tbsp vanilla (Who doesn’t want more vanilla?!)
- A mixer
- Gallon Ziplock or Piping Bag
- Decorating eyeball sprinkles

24 delicious spooky Halloween family treats!

This recipe produces a ton of cookies! We made 24 cookies to share with friends and family! They stay fresh about a week and freeze great, if you want to have them hold up longer!
Halloween Spider Chocolate Chip Cookies with Peanut Butter Cup
Equipment
- 1 Large Baking Sheet
- 1 Mixer or Electric Hand Mixer
- 1 Medium Bowl
- 1 Cooling Rack
- Parchment Paper
- 1 Piping Bag or Gallon Ziplock
- 1 Small/Medium Saucepan
Ingredients
- 2 Cups All Purpose Flour
- 1 Cup Brown Sugar
- 3/4 Cup Granulated White Sugar
- 2 Eggs
- 1 Stick Unsalted Room Temperature Softened Butter
- 1 Stick Unsalted Butter
- 1 tsp Baking Soda
- 1 tsp Salt
- 1.5 bags Semi-Sweet Chocolate Chips
- 1 bag Unwrapped Reese's Mini Peanut Butter Cups
- 1 tbsp Vanilla
- Decorating Eyeball Sprinkles
Instructions
- Line a baking sheet with parchment paper.
- In a medium/large bowl, combine your flour, baking soda and salt. Gently stir to mix together.
- In a mixing bowl/mixer, add the ROOM TEMPERATURE butter, brown sugar and white sugar. Turn it on medium speed for about 3-4 minutes. Do NOT melt butter in microwave - This will drastically change the texture.
- Scrape the sides of the bowl and add in the vanilla and the eggs.
- Turn the mixer back on medium until the eggs and vanilla are mixed in and scrape the sides again.
- Turn off the mixer and add in a small amount of the flour mix. Turn the mixer on low and gradually increase to about medium speed. Slooowly mix in the rest of the flour mixture while the mixer is on.
- Once the flour is mixed in, add the chocolate chips slowly.
- Turn off your mixer and place the mixer bowl into the fridge. I recommend leaving it in the fridge for at least 30 minutes.
- Preheat the oven to 375 degrees.
- Scoop out small balls of cookie dough onto the baking sheet after the dough is cold. The dough should be really easy to form into balls after being in the fridge. I recommend 6 medium cookies per large baking sheet or 12 small cookies.
- Pop the cookies in the oven for about 8 minutes to check and make sure they are not overcooked. Add 2 minutes at a time until they are slightly brown on the edges. These cookies do set well once they are taken out of the oven. My oven took about 10 minutes but every oven is different.
- Once you take them out of the oven, let them sit about 2 minutes before placing on a cooling rack. As soon as they are transferred, place a Reese's mini in the center. When you place them, do NOT push them down. Very gently place them on top.
- Add two decorative candy eyeballs to each peanut butter cup before the cookies fully cool.
- While the cookies cool, rinse out the medium bowl that you used for flour and set it on top of a small pot of water on the stove on medium high heat.
- Add 1/2 of the stick of butter to the bowl and add the other 1/2 bag of chocolate chips. Stir pretty continuously and add more butter as needed until all chocolate has melted and is a creamy texture.
- Once it is a creamy texture, remove from the heat and transfer the chocolate to a piping bag or a gallon ziplock.
- Cut a very small piece off of the tip of the bag and create 8 spider legs on each cookie by piping out the chocolate. You may want to wait a couple minutes for the chocolate to cool before starting this process. The bag can be hot!
- Let the cookies sit for at least an hour so the chocolate can dry. Do not stack cookies.
